Requirements
# |
Recommended |
| Server | VPS, Cloud, or Dedicated (Get 20€ Free Cloud Server Credits) |
| Linux OS | Debian 12 / Ubuntu 22.04 |
| Network | 1x IPv4 Address and 1x /64 IPv6 Subnet |
| Web Panel | aaPanel |
| Web Server | Apache 2.4 |
| Web Server Mods | mod_rewrite enabled (URL rewriting) |
| PHP | 7.4, 8.1+ |
| PHP Extensions | ionCube Loader, cURL, fileinfo, redis |
| PHP Functions enabled | putenv, exec, chown |
| Database | MySQL 8 / MariaDB 10.7 |
| In-Memory Database / Cache | Redis |
Recommended installation
1) Follow these instructions to install aaPanel
2) In aaPanel, click on "Website" in the left-hand menu, and then click on your Backend Subdomain's Document Root directory value

3) Delete all automatically created files. (Ignore .user.ini, because it can't be deleted.)

4) Upload the "VideoBackendApi-v3.0.0.zip" distribution file (via Drag & Drop) and click Upload. After Successful Upload, close the Upload window.
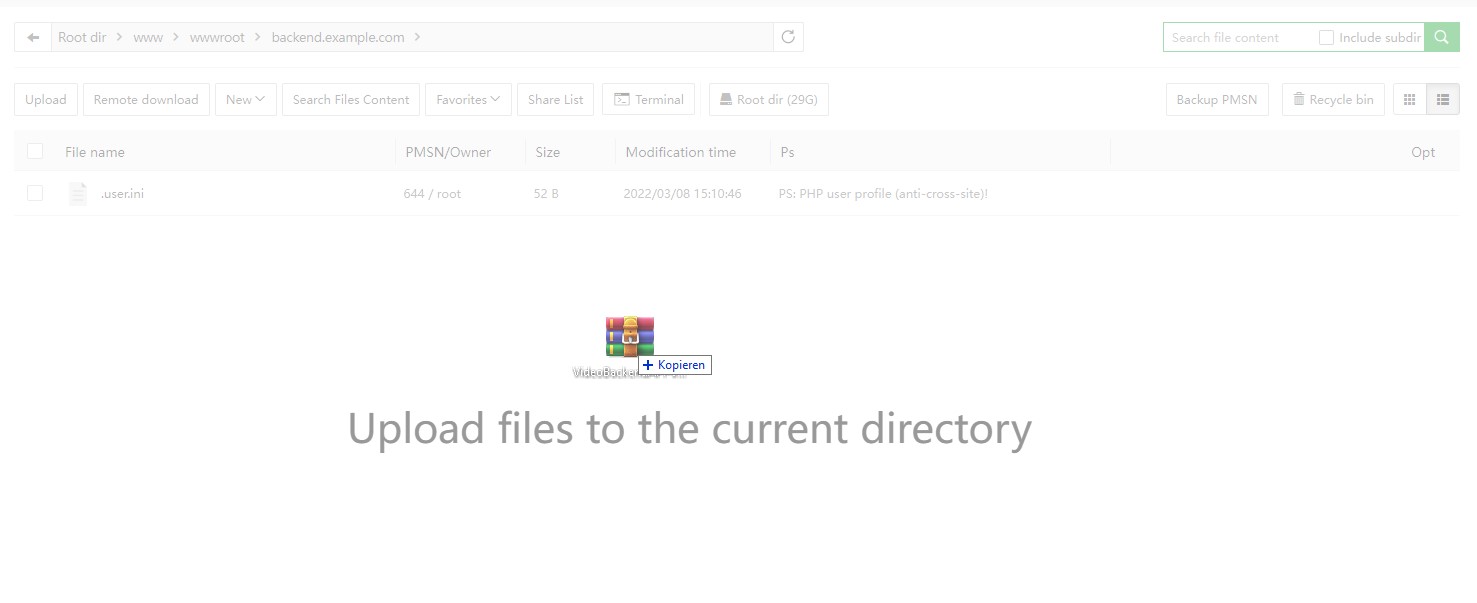

5) Now, click on Terminal

6) Unpack the ZIP file on your Server, move files to the subdomain's web root directory, and delete temporary files/folders
sudo -u www unzip VideoBackendAPI-v3.*.*.zip && mv videobackendapi/* videobackendapi/.??* . && rm -rf videobackendapi VideoBackendAPI-v3.*.*.zip
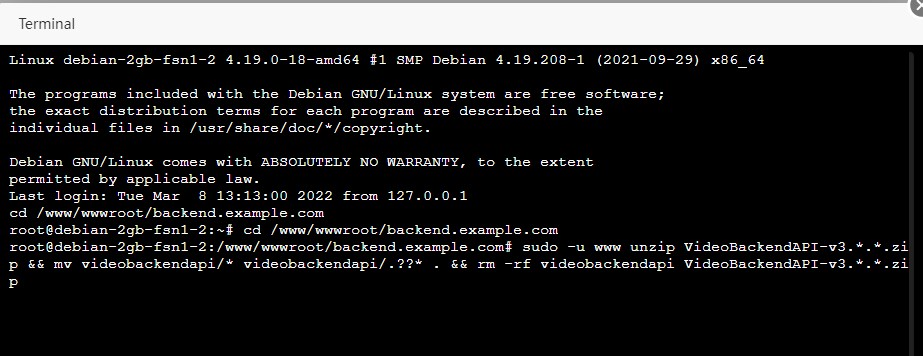
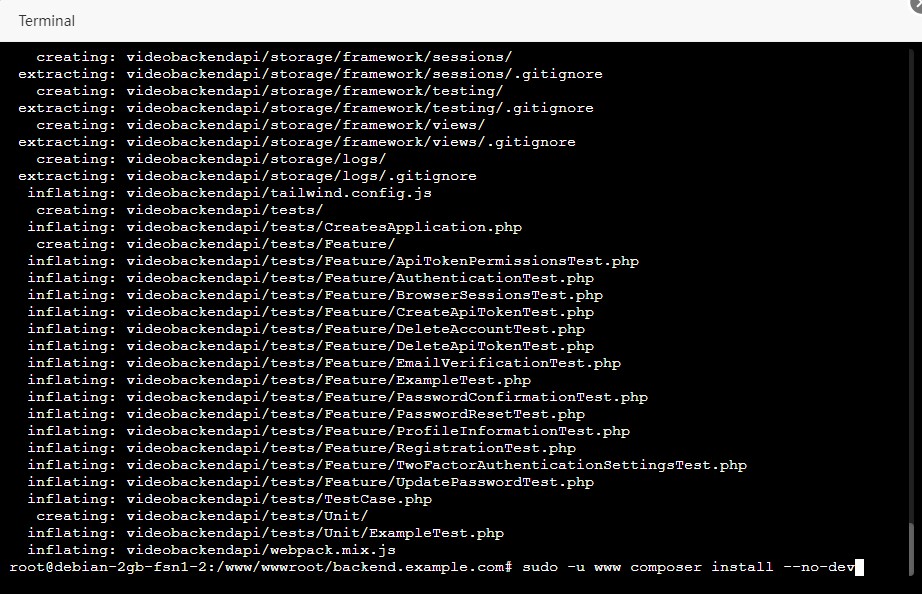
7) Install dependencies via Composer
sudo -u www composer install --no-dev
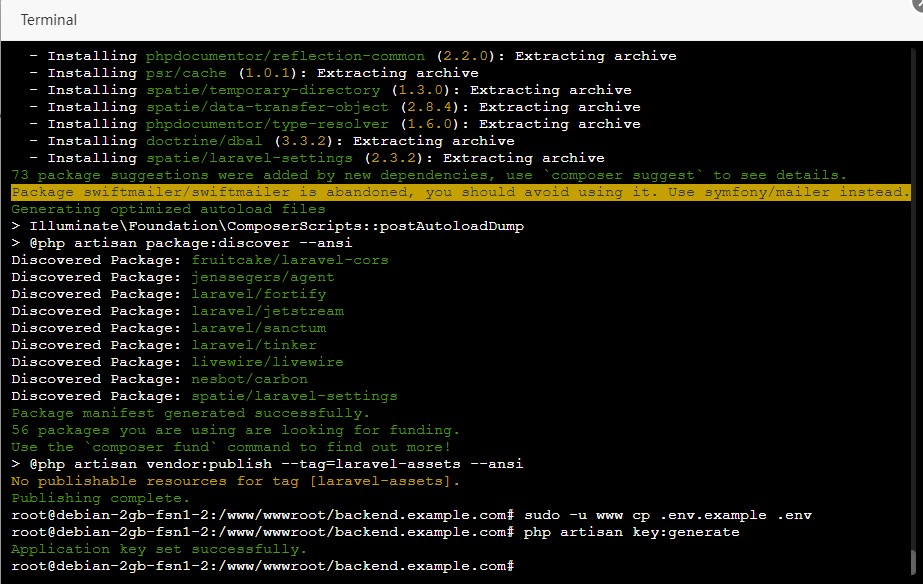
8) Generate .env Config file
sudo -u www cp .env.example .env
9) Generate unique APP Key
php artisan key:generate
10) Click the Refresh Button (to the Right of the current directory path, e.g., Root dir > www > wwwroot > backend.example.com) to see the extracted files/folders, open the .env file (Double-Click it), and edit your settings in the built-in editor

APP_NAME="YouTube Video Backend"
APP_URL=http://backend.example.com

# Your MySQL Database Login details here
DB_CONNECTION=mysql
DB_HOST=127.0.0.1
DB_PORT=3306
DB_DATABASE=videobackendapi
DB_USERNAME=your_username
DB_PASSWORD=your_password

# If you want to use redis, set up your redis settings here.
REDIS_HOST=127.0.0.1
REDIS_PASSWORD=null
REDIS_PORT=6379

# Cache Search and Video Extraction results for faster response.
CACHE_SEARCH_RESULTS=true

# Cache purges old results automatically after 3600 seconds (1 hour)
CACHE_SEARCH_EXPIRES=3600

# Cache Driver can be "file" or "redis"
CACHE_DRIVER=file

# If enabled, all IPv6 addresses will automatically refresh every 2 hours.
# If you set APP_ENABLE_IPv6_GENERATOR to true, make sure to also set APP_USE_IP_VERSION to 6.
# WARNING: If you're running both the Backend and MP3 Converter Pro (MCP) on the same server,
# activate this feature only in the Backend, and keep it disabled in MCP.
APP_ENABLE_IPv6_GENERATOR=true
APP_USE_IP_VERSION=6

...
11) Migrate and Seed Database via SSH terminal
php artisan migrate --seed

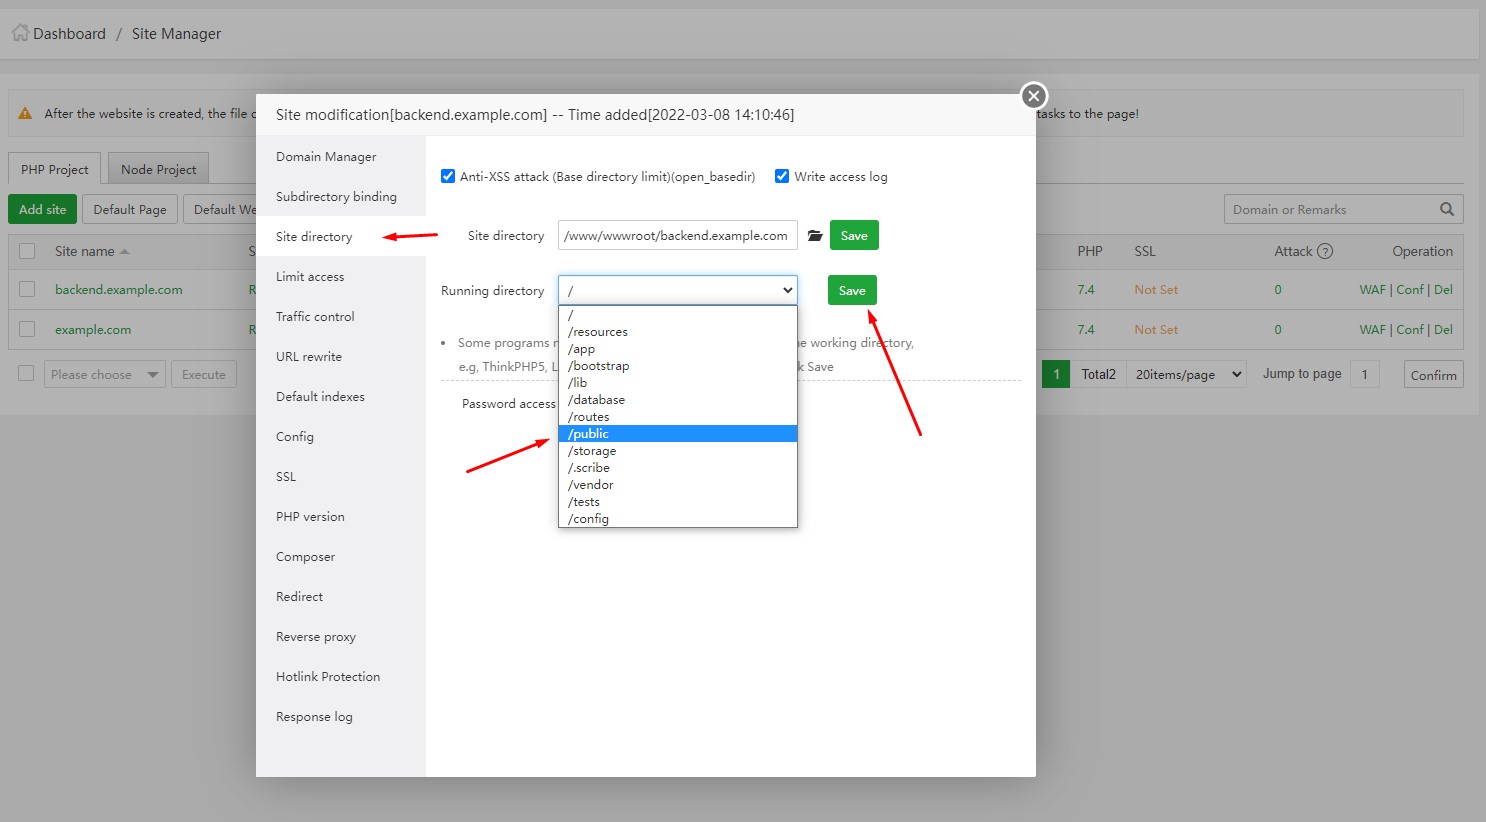
12) In aaPanel, click on "Website" in the left-hand menu, click on your Backend Subdomain (in the "Site name" column), go to Site Directory > Running directory, set the value to "/public", and click save
13) In aaPanel, click on "Terminal" in the left-hand menu, and then follow these instructions to ensure your IPv6 is configured correctly and working
14) In aaPanel, click on "Cron" in the left-hand menu, and then set up a Cron Job
Type of Task: Shell ScriptName of Task: Backend CronExecution cycle: N Hours 1 Hour 0 MinScript content: php /www/wwwroot/backend.example.com/artisan schedule:run
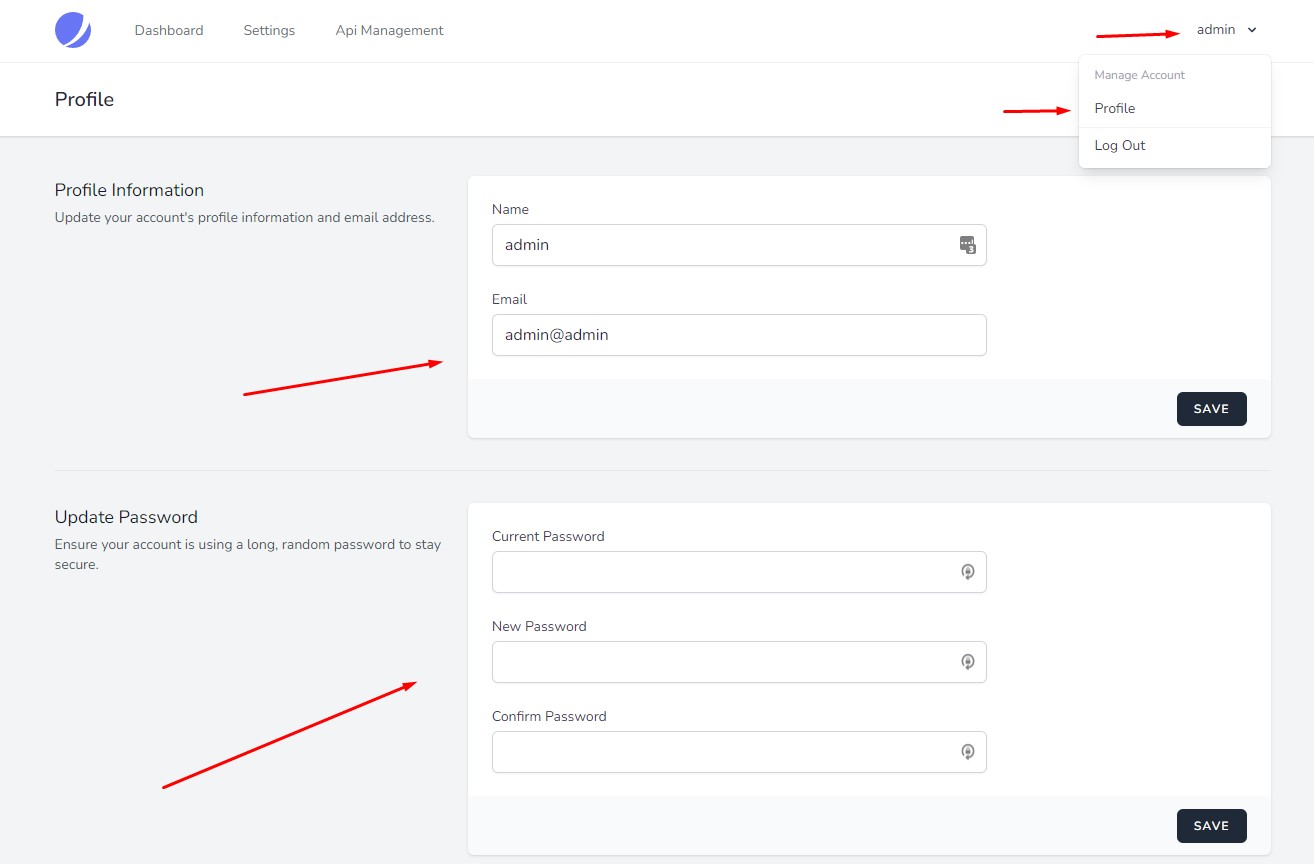
15) Navigate to the Admin Panel, and Update your Email and Password
http://backend.example.com/admin

Login: admin@admin

Password: 12345678
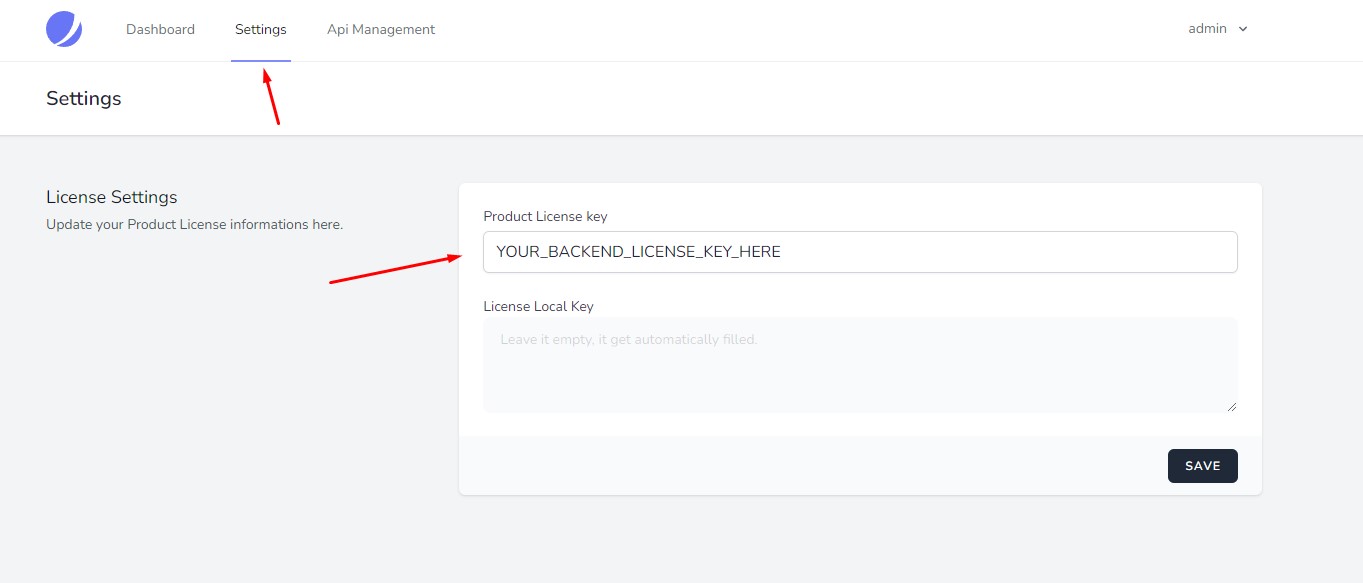
16) In the Admin Panel, click on Settings, add your Product License key, and click Save
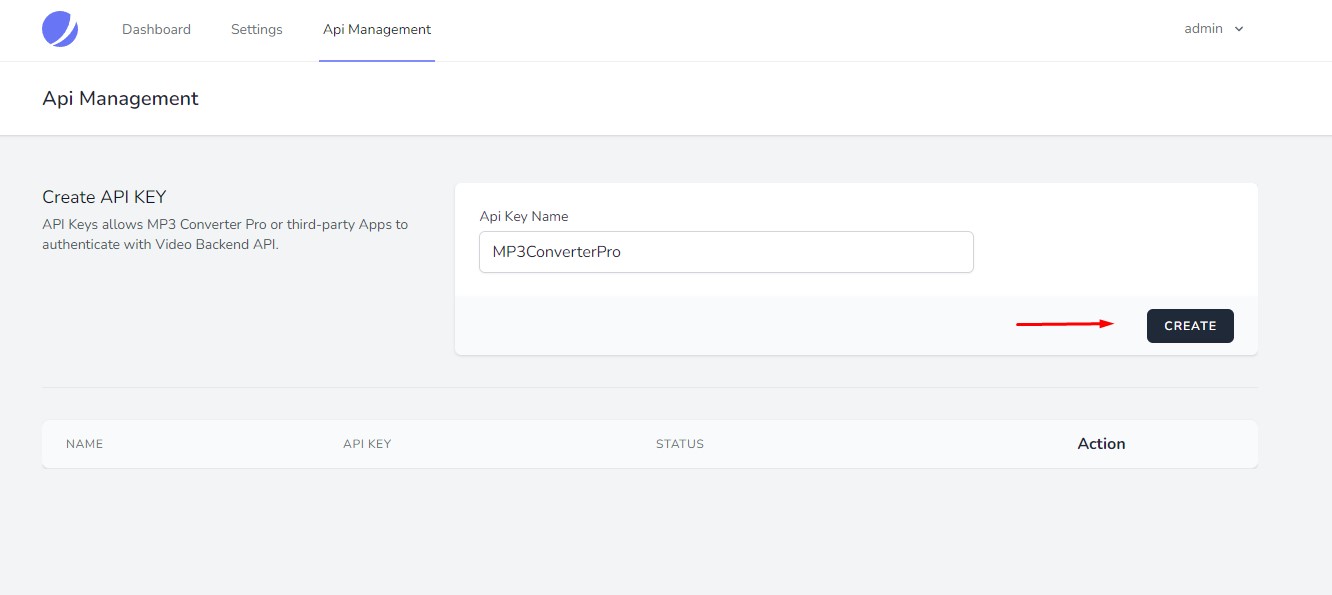
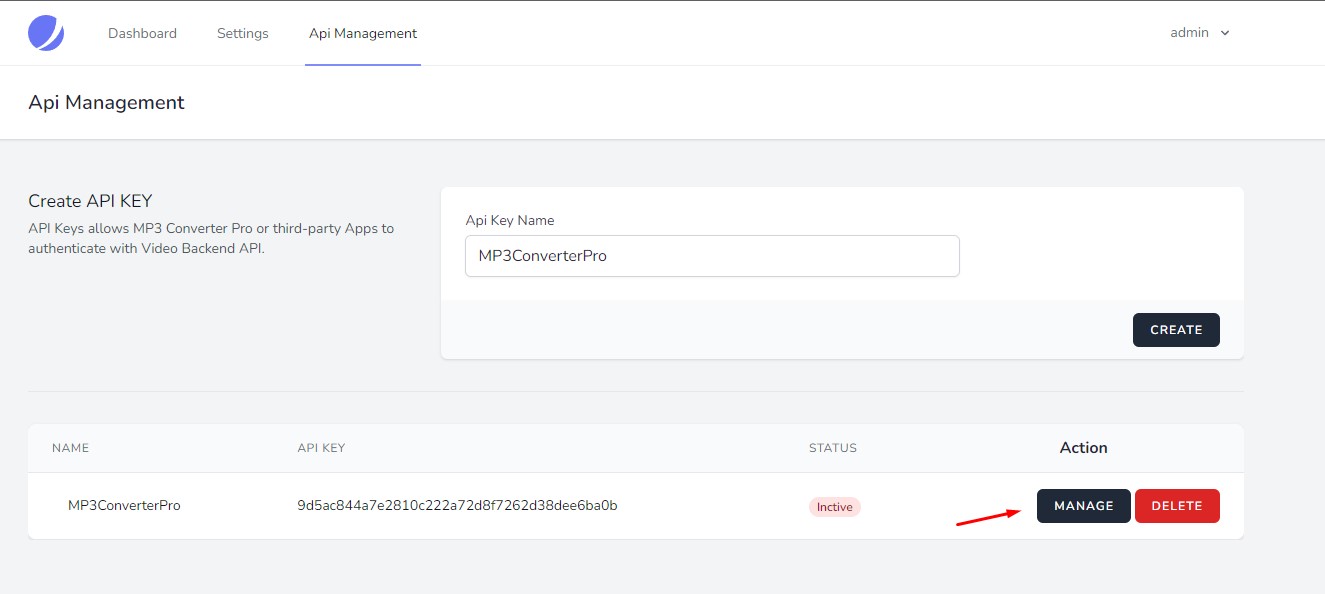
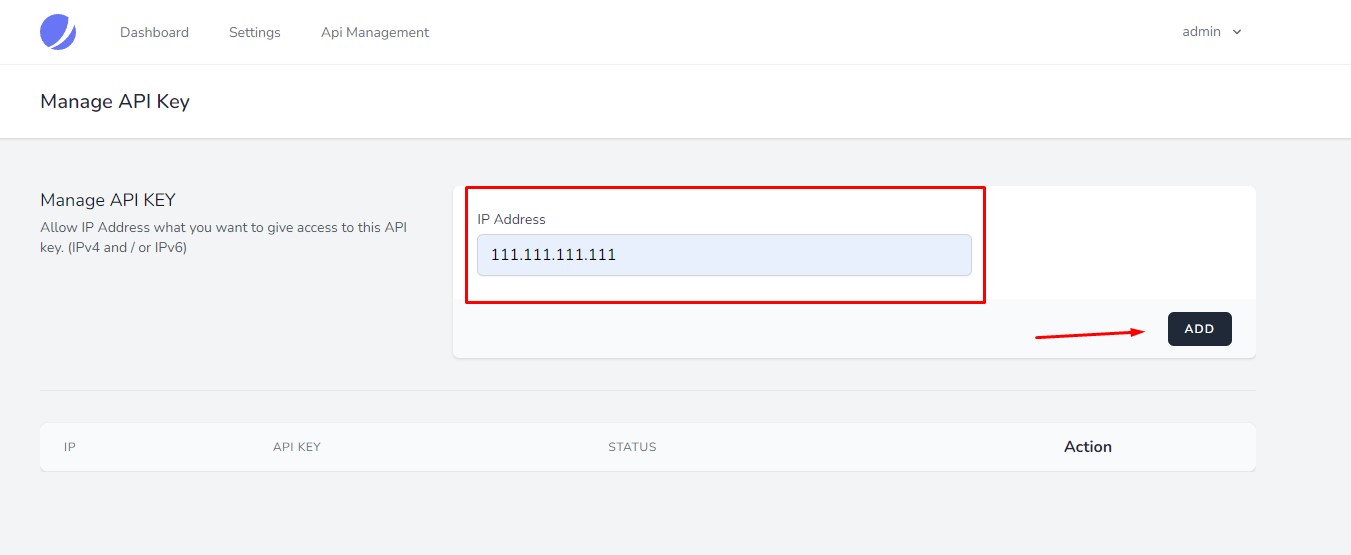
17) In the Admin Panel, click on Api Management, create an API Key for your MP3ConverterPro installation(s), and then add one or more IP Addresses to that key to enable API access
