Requirements
# |
Recommended |
| Software | YouTube Video Backend |
| Server | VPS, Cloud, or Dedicated (Get 20€ Free Cloud Server Credits) |
| Linux OS | Debian 12 / Ubuntu 22.04 |
| Network | 1x IPv4 Address and 1x /64 IPv6 Subnet |
| Web Panel | aaPanel |
| Web Server | Apache 2.4 |
| Web Server Mods | mod_rewrite (URL rewriting) |
| PHP | 7.4, 8.1+ |
| PHP Extensions | ionCube Loader, cURL, fileinfo, redis |
| PHP Functions enabled | putenv, exec, chown, pcntl_signal, pcntl_alarm, popen, proc_open, dl, apache_setenv |
| Database | MySQL 8 / MariaDB 10.7 |
| Conversion Software | FFmpeg & FFprobe static build |
| Processes Control | Supervisor |
| In-Memory Database / Cache | Redis |
Recommended installation
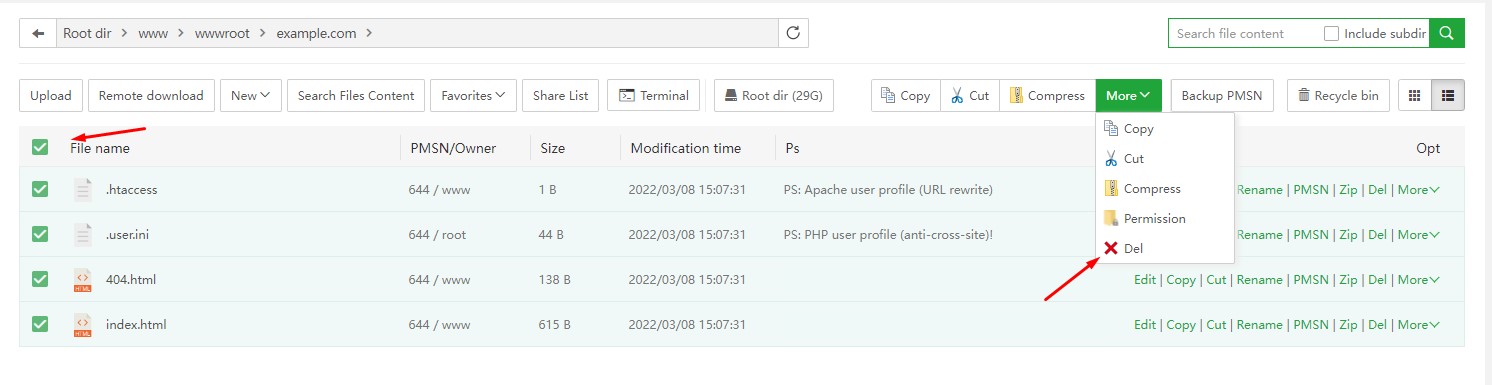
1) In aaPanel, click on "Website" in the left-hand menu, and then click on your MP3ConverterPro Domain's Document Root directory value

2) Delete all automatically created files. (Ignore .user.ini, because it can't be deleted.)
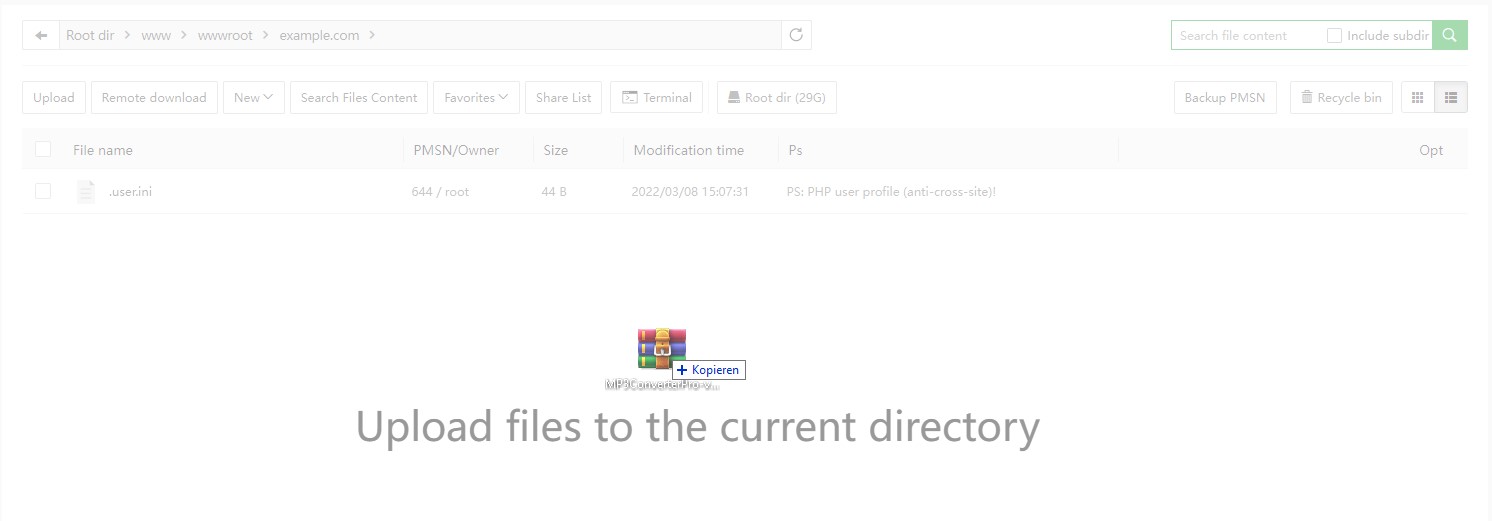
3) Upload the "MP3ConverterPro-v3.zip" distribution file (via Drag & Drop) and click Upload. After Successful Upload, close the Upload window.
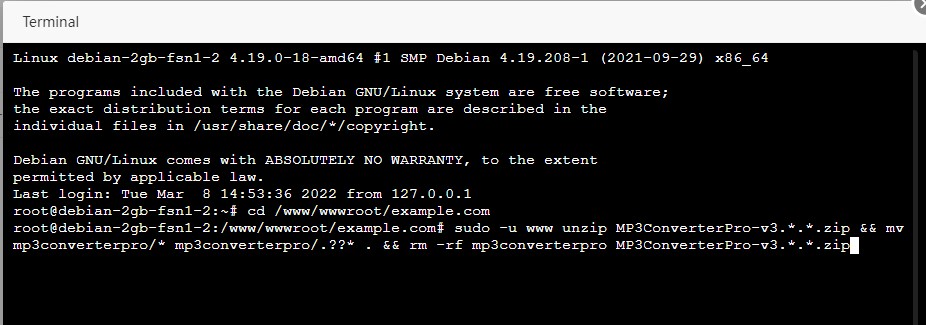
4) Now, click on Terminal

5) Unpack the ZIP file on your Server, move files to the domain's web root directory, and delete temporary files/folders
sudo -u www unzip MP3ConverterPro-v3.*.*.zip && mv mp3converterpro/* mp3converterpro/.??* . && rm -rf mp3converterpro MP3ConverterPro-v3.*.*.zip
6) Install dependencies via Composer
sudo -u www composer install --no-dev

7) In aaPanel, click on "Website" in the left-hand menu, click on your MP3 Converter Pro Domain (in the "Site name" column), go to Site Directory > Running directory, set the value to "/public", and click save

8) Navigate to the "public" folder, open .user.ini, and change its content to:
open_basedir=
9) Navigate to your Domain
https://YourDomain.com/installer
10) Enter your Database and Redis Login Details into the installer form and press Continue
11) On the next installer page, verify all tests (except the "Supervisor Horizon Worker running?" test -- see below) pass with "Yes", and then press "Migrate" on the Database section
12) In aaPanel, click the Refresh Button (to the Right of the current directory path, e.g., Root dir > www > wwwroot > example.com) to see the extracted files/folders, open the .env file (Double-Click it), and edit your settings in the built-in editor
Note: To regenerate the IPv6 used for YouTube requests, edit the following lines:
# If enabled, all IPv6 addresses will automatically refresh every 2 hours.
# If the Backend and MP3 Converter Pro (MCP) are installed on separate servers, then
# set here APP_ENABLE_IPv6_GENERATOR to true, APP_USE_IP_VERSION to 6, and APP_AUTO_RESTART_HORIZON to true.
# WARNING: If you're running both the Backend and MP3 Converter Pro (MCP) on the same server, then
# activate this feature only in the Backend, and keep APP_ENABLE_IPv6_GENERATOR to false here.
# In this case, you must still set here APP_USE_IP_VERSION to 6 and APP_AUTO_RESTART_HORIZON to true.
APP_ENABLE_IPv6_GENERATOR=false
APP_AUTO_RESTART_HORIZON=true
APP_USE_IP_VERSION=6
13) Open the file "config/horizon.php", scroll down to Line 185, and edit the "maxProcesses" value
'production' => ['supervisor-1' => ['maxProcesses' => 10, // Number of CPU THREADS x 4 on Dedicated Servers, or Number of vCores x 2 on VPS/Cloud Servers'balanceMaxShift' => 1,
'balanceCooldown' => 3,],],
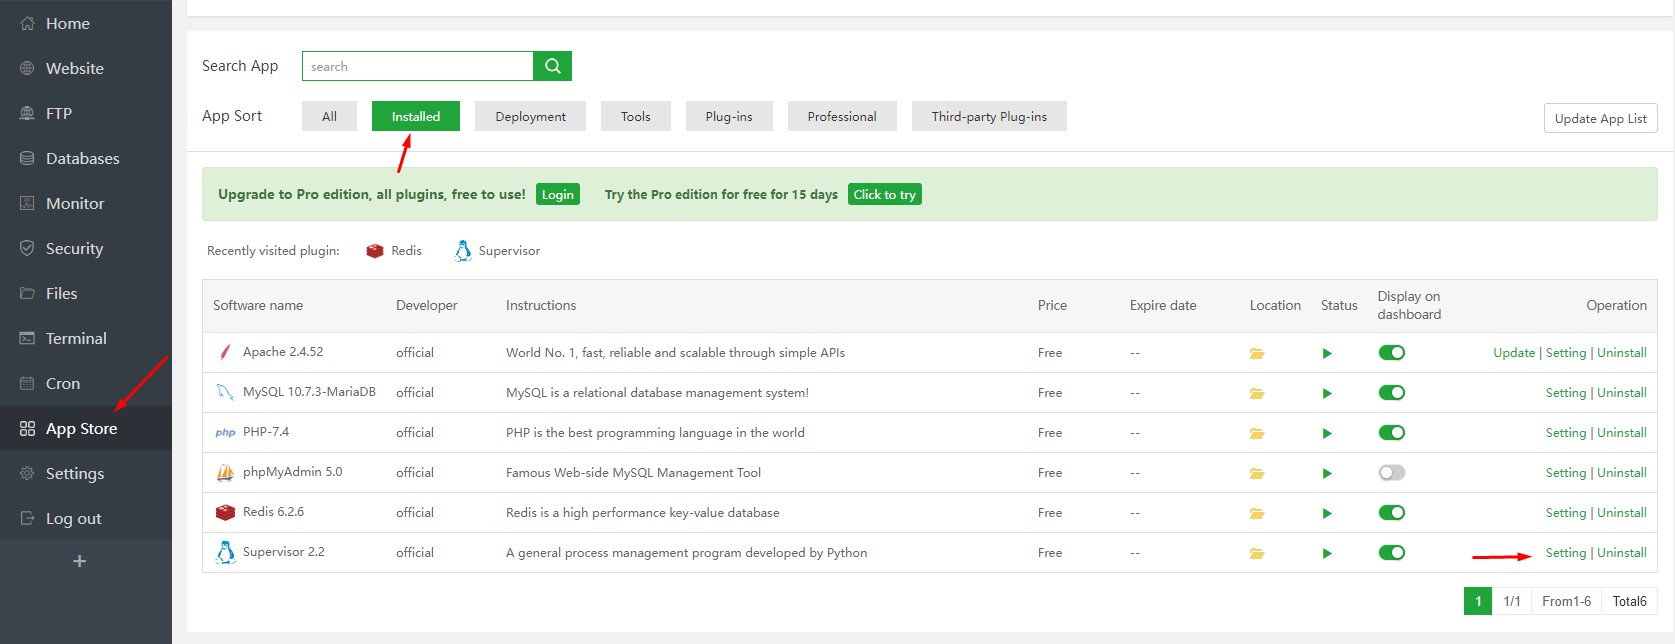
14) In aaPanel, click on "App Store" in the left-hand menu, click the "Installed" button at the top of the page, find "Supervisor" in the resulting list of software, click on its Settings, click the "Add Daemon" button, and configure Supervisor (for the Download Queue)
Name: Horizon_WorkerRun User: wwwRun Dir: /www/wwwroot/yoursite.com/Start Command: php artisan horizonProcesses: 1
15) In aaPanel, click on "Terminal" in the left-hand menu, and then follow these instructions to ensure your IPv6 is configured correctly and working
16) In aaPanel, click on "Cron" in the left-hand menu, and then set up a Cron Job to delete old, cached files
Type of Task: Shell ScriptName of Task: Delete File CacheExecution cycle: N Minutes 5 MinuteScript content: php /www/wwwroot/yoursite.com/artisan schedule:run

17) Refresh the 2nd installer page, verify that ALL tests now pass with "Yes", and then press "Complete Setup" (at the bottom of page)
https://YourDomain.com/installer/check
18) Navigate to the Admin Panel and log in with the following credentials:
http://yoursite.com/admin
Login: admin@admin
Password: 12345678
...Then click on the "admin" dropdown menu (at the top-right of page), select Profile, and update your Email and Password

19) In the Admin Panel, click on Settings, go to License Settings, add your Product License key, and then click the corresponding Save button. On the same page, go to Backend Settings, add your Backend URL and API key, and then click its corresponding Save button.

